How do you always find the right chain length?
One of the most frequent questions I get in my inbox is about choosing the right chain for your bike and figuring out the correct length for a new one.…
Datum
Lesezeit
One of the most frequent questions I get in my inbox is about choosing the right chain for your bike and figuring out the correct length for a new one.

In detail, besides the drivetrain, there are a lot of factors that come into play. In no particular order, here’s what to think about:
- Is it a road bike, gravel bike, or MTB (hard tail or full-suspension)?
- What type of chain rings, cassette gradation, and possibly longer derailleurs (like those on CeramicSpeed’s OSPW systems) are used as tuning options?
- Do you like to change things up with different chain ring sizes, cassette gradations, or switch from a double to a single chain ring?
- Depending on your frame and possibly wheel size, the rear triangle length can vary, which also affects the necessary chain length.
Usually, once I know the group and gearing, I can at least tell if you need a 116 or 126-link chain for Shimano or a 114, 120, or 126-link chain for SRAM. It’s always just a starting point, though—”you’ll probably need to trim it a bit” is my standard disclaimer. But why trim?
Bike manufacturers buy chains in bulk, and during production, each chain link gets measured and cut to the right length based on the bike’s specifications. This is smart because it avoids wasting chain segments. However, as consumers, we typically get one of the standard lengths, so shortening is usually necessary. It’s not a big deal, but just be careful—once it’s cut, it’s gone, and I wouldn’t recommend trying to add links back. Measure twice, cut once!
There are actually several ways to determine the right chain length. How do you usually go about it?
It sounds simple and logical—you can just use the chain length the manufacturer originally installed. If everything worked fine, that’s the obvious choice. But it’s not always perfect. Maybe there was a mistake, or you swapped your cassette from an 11-30 to an 11-34, or got a big derailleur cage with oversized jockey wheels for tuning. At first glance, everything might still seem fine, but take a look at that derailleur when you’re in a 54/34 setup. If it’s nearly horizontal and about to snap, something’s off. Watch out when shifting under load—short chains often make a distinct rattling sound.
I once had a buddy in the field whose chain was too short after an upgrade, and it ended up in a derailleur disaster with a broken spoke. Sounds silly, right? But if you’re reusing a chain, it’s worth checking the length before putting it back on. Just line up the old and new chains side by side to avoid these issues. But also count the links, as wear and elongation can throw things off.
As usual, I recommend reusable quick-links, like those from YBN, which I carry in my shop. Shimano and SRAM quick-links, on the other hand, are meant for one-time use only. I’ve even got YBN ones for Flattop chains now.
If you’re building a bike from scratch or following the advice from big chain manufacturers, it can get pretty overwhelming.
Here’s the scoop:
Im Folgenden sieht man ganz gut, wie sehr Kassettengröße und Schaltwerk die Kettenlänge beeinflussen. Behaltet das immer im Kopf bei Umbauten und denkt beim Fully ran, dass sich die Kette “stretcht”, wenn der Hinterbau einfedert.


Möglichkeit Nummer zwei: Wenn du ein Rad neu aufbaust, nach den Tipps der beiden großen Kettenhersteller gehst oder dir dazu was versuchst zu ergooglen, dann wird es in der Tat schnell etwas unübersichtlich. Aber einfach war halt vor zig Schaltgruppen und Fahrradgattungen und vermeintlich allem markenintern aufeinander abgestimmt.
Shimano
To start, a fitting quote from Shimano: “That’s why there’s no one-size-fits-all answer for chain length!” Depending on the drivetrain type, they give the following recommendations:
The key with this approach: you lay the chain on the biggest chain ring and cog but don’t thread it through the derailleur. You’ll need to add a few extra links to be on the safe side—especially with larger cassette ranges, where up to six extra links might be needed.

Pro tip: pay attention to that little guide plate on the derailleur and thread the chain properly. I’ve seen a guy who just waited for it to wear down after the wrong installation—don’t do that! Also, reusable quick-links are a game-changer.
For full-suspension MTBs, make sure the chain has enough slack in the largest chain ring/largest cog combo, especially when the suspension compresses. Otherwise, the chain might snap on a full compression—check out a helpful video here.
SRAM
SRAM also offers various videos depending on the bike type:
They also have a calculator where you input various parameters to get the correct chain length.
By the way, all of SRAM’s Flattop chains are already compatible with both current 12-speed and 13-speed groupsets. Right now, these are available only for gravel bikes and are labeled as XPLR parts, but with 12 cogs, it’s clear that this won’t stop at gravel. I’ve been toying with the idea of a 13-speed TT setup using XPLR parts for a while now; just waiting for the time trial frame with an UDH dropout to make it happen.
You can now get these 12/13-speed waxed chains from me in two versions in the derbaranski.shop:
Now, how do I handle this with my bikes, and why do I sometimes do things differently than above?
For all my training bikes with a front derailleur, I like to leave the chain as long as possible. This way, I have plenty of room to switch up the chain rings and cassettes without being limited by chain length. I change components often, so this gives me flexibility.
To set it up, I put the chain on the smallest chain ring up front and the smallest cog (11 teeth) in the back, and lightly tension the derailleur. This way, the chain doesn’t slack in the “worst” gear that I rarely use, but when I shift to the big chain ring and a 30t or even 34t cog (all Shimano!), I still have enough slack to avoid damage.
If you can’t make this work, I’ve disabled all the fancy Synchro-Shift and similar Di2 features on purpose. I want to decide when the front derailleur moves and when it doesn’t. Since the 34t cog came along, I can push through a lot of terrain on the big chain ring without needing to drop to the small one. That’s my setup at least, up here in the North. Big shoutout to my critics in Allgäu—love you all!
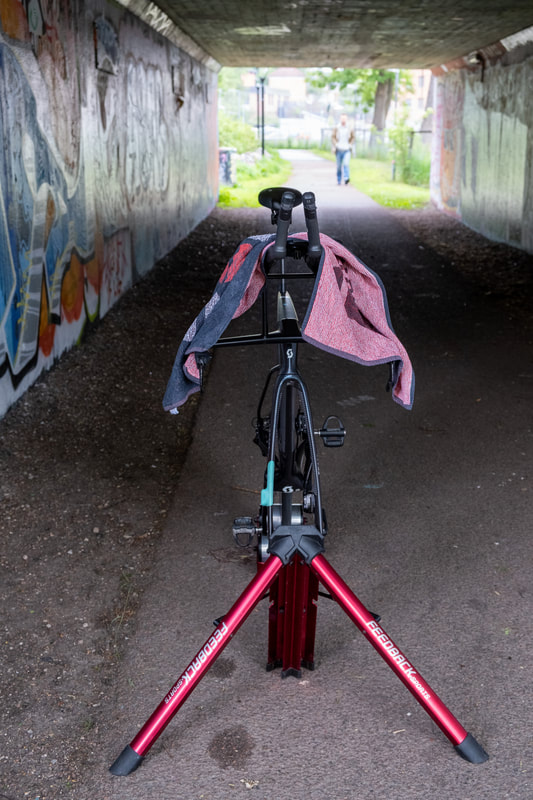
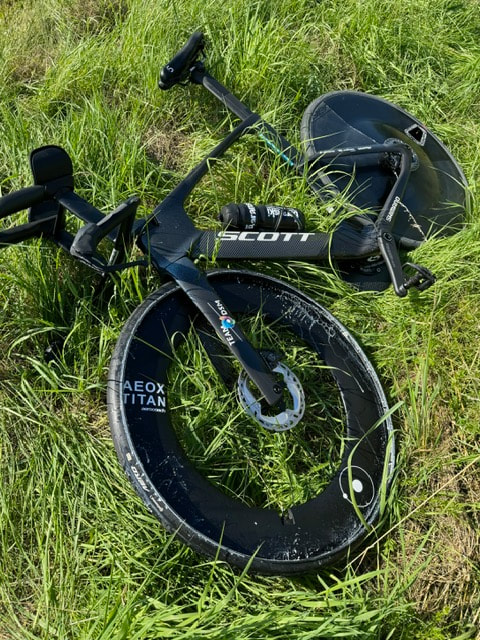
The same approach works for all my time trial bikes, which now only have a large chain ring upfront. They almost always come with a special derailleur that requires a lot of chain. My classic setup is a 58t chain ring with a 11/30 cassette and OSPW. The original chain length from the factory is 116 links, which keeps the derailleur tensioned on the 11t cog, and still leaves enough reserve on the 30t cog without rattling or risking damage.
Another bonus for the marginal gains folks: Less chain tension theoretically means less friction. CeramicSpeed’s OSPW cages, for instance, have two to four holes to adjust the derailleur’s spring tension, and I always opt for the one with less tension. It’s a whole different world compared to Shimano’s standard setup. How CeramicSpeed wants you to adjust the tension plus chain lenght can be found here.
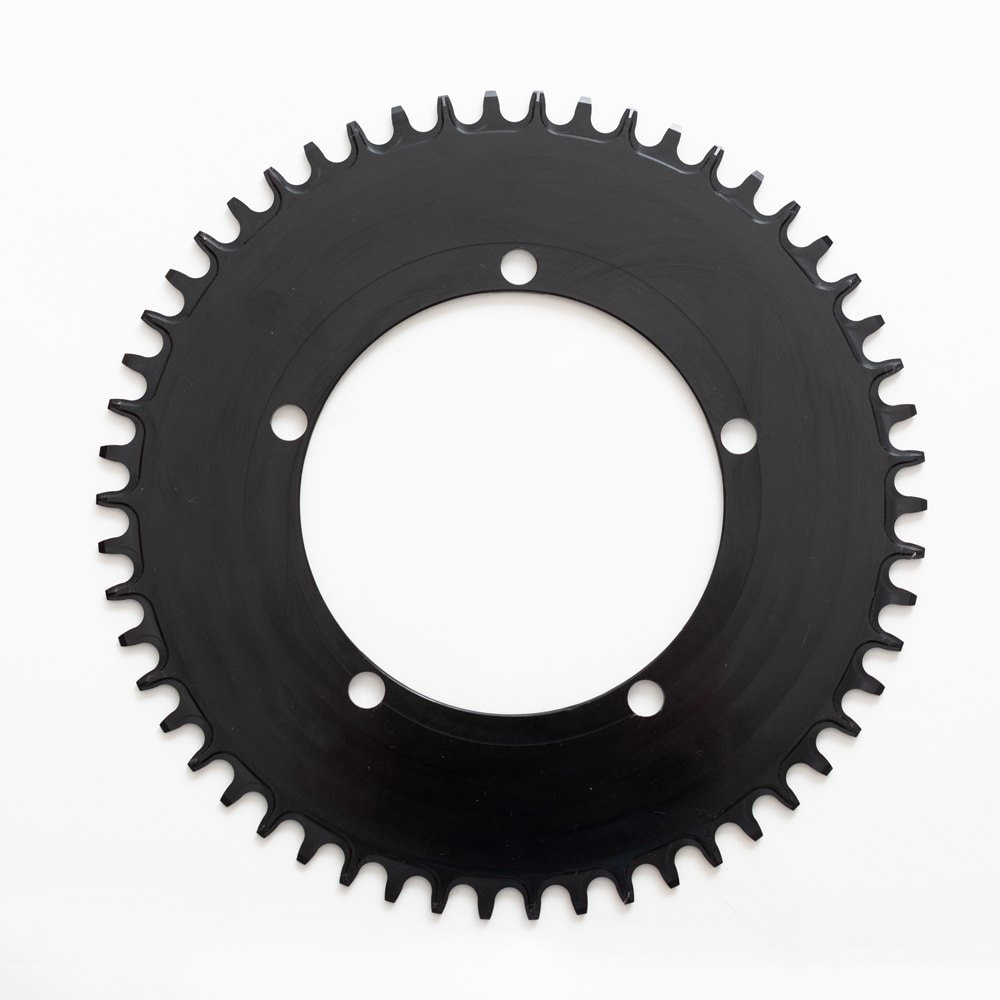
For everything to work smoothly, and to ensure the chain stays on the single chain ring, I mostly use Garbaruk chain rings, which have 40{ede87e2b6b7ec35409166576a2251fcad2ac50faad4b902e97ed34aff05f0ff6} longer teeth compared to other brands. For chain rings without a front derailleur, I always recommend using a chain catcher!
When I change gears based on the route, I always check the chain length. This is especially important if you’re running a 60t or larger chain ring, or if you’ve got a wider cassette range, like a Shimano 11/34 or a SRAM 10/36. I always carry pre-configured chains with either more or fewer than 116 links in my toolbox for these kinds of situations.
And if your chain looks like it’s seen better days, get it off before it damages your cassette, chain rings, or derailleur jockey wheels. Use a Park Tool chain checker tool to avoid unnecessary wear.
For more tips, check out my blog and use the search function if you need help with anything bike-related like here for anything chains.
See you out on the road—I’m the guy with the yellow helmet!
Der Baranski

Damit das alles klappt und die Kette auch auf dem Mono-Kettenblatt bleibt, setze ich in den allermeisten Fällen auf die Blätter vom Garbaruk, die 40 {ede87e2b6b7ec35409166576a2251fcad2ac50faad4b902e97ed34aff05f0ff6} längere Zähne als alle anderen Anbieter haben. Alle anderen Blätter ohne Umwerfer kann ich nur mit Kettenfänger empfehlen!

Wenn ich jetzt mit der Übersetzung je nach Strecke variiere, lohnt auch immer der Blick auf die Kettenlänge. Bei einem 60er oder größeren Blatt oder mehr Spreizung am Ritzel, etwa auf 11/34 bei Shimano oder bei SRAM sogar von 10/28 auf 10/36, gilt das noch viel mehr. Ich habe dazu in der Tat immer vorkonfigurierte Ketten mit mehr oder weniger als 116 Gliedern im Werkzeugkasten dabei.
Ach ja, und wenn die Kette dann irgendwann so aussieht wie hier, dann ist sie auf jeden Fall hin und muss ganz ganz schnell runter, um nicht noch die teuren die Ritzel, Blätter und Schaltröllchen in Mitleidenschaft zu ziehen.

Um so etwas zu vermeiden, gibt es ja aber die gute Kettenmesslehre von Park Tool und zwar auch bei mir im Shop.

Fazit: Mit der richtigen Methode zur optimalen Kettenlänge
Die richtige Kettenlänge hängt von vielen Faktoren ab, aber mit den oben genannten Tipps, Videos und Tools findest du die perfekte Einstellung für dein Bike. Noch Fragen? Schreib mir oder schau in meinem Shop vorbei – ich helfe dir gerne weiter!
Wir sehen uns auf der Straße – ich bin der Typ mit dem gelben Helm!

#chainlength #bikemaintenance #bikecare #cyclingtips #bikerepair #biketuning